Products
recommended products
Unless otherwise noted, I personally use all of the products listed below. Click the image to go to the product link.
Some of these products are affiliate links and I may receive a ridiculously small commission from sales. Thank you!
thermometers and scales
Thermometers
I strongly recommend buying a few “refrigerator termometers.” These are ambient air temperature thermometers and they are essential tools for monitoring fermentation. I typically keep one with my starter at all times, I use one in my proofing chamber, I keep one in the refrigerator with my overnight cold proofing loaves and I keep one on my countertop. These are an essential tool in my opinion.
There are many options available. These come in 2, 4 and 8-packs. I recommend buying at least 4.
Probe Thermometer
I use the ThermaPen MK4 digital probe thermometer in my videos. A good digital probe thermometer is an essential tool for the sourdough baker.
This model is a luxury upgrade. The ThermaPen is fast and accurate, but less expensive kitchen probe thermometers are also accurate, in my opinion, but are not quite as fast.
I have also used the All-Clad Digital Thermometer with good results.
Bluetooth Thermometer
These small bluetooth thermometers are great for measuring the temperature in your proofing chamber. For example, if you are using your oven with the light on for proofing, put one of these thermometers in the oven with your dough and you can monitor the oven temperature on your phone. This model remains turned on at all times, so you need to replace the battery about once per year. These thermometers also track temperature history on your phone, so they are helpful for tracking overnight room temperatures if you are doing overnight bulk fermentation.
You should use a probe thermometer to check the dough temperature. Dough temperature changes more slowly than the air temperature in your proofing chamber. Frequently test your dough temperature for best results.
Infrared Thermometer
This infrared thermometer gun is a somewhat specialized thermometer I used for checking the temperature of my Dutch ovens. The temperature of your oven and Dutch oven can materially impact the ovenspring of your loaves. Many kitchen oven thermostats are notoriously inaccurate. I preheat my Dutch oven to 500F/260C and load the dough as soon as the Dutch oven wall hits 500F/260C. Under or over-heating your Dutch oven can impact ovenspring.
Infrared thermometers are very helpful for getting consistent preheating temperatures if you are baking multiple loaves in succession. You can use this thermometer to test your dutch oven temperature when preheating it between bakes.
Infrared thermometers are not recommended for measuring dough temperature because they only measure the surface temperature. To accurately measure the temperature of your dough, you need to test the center of the dough with a probe thermometer.
Digital Kitchen Scale
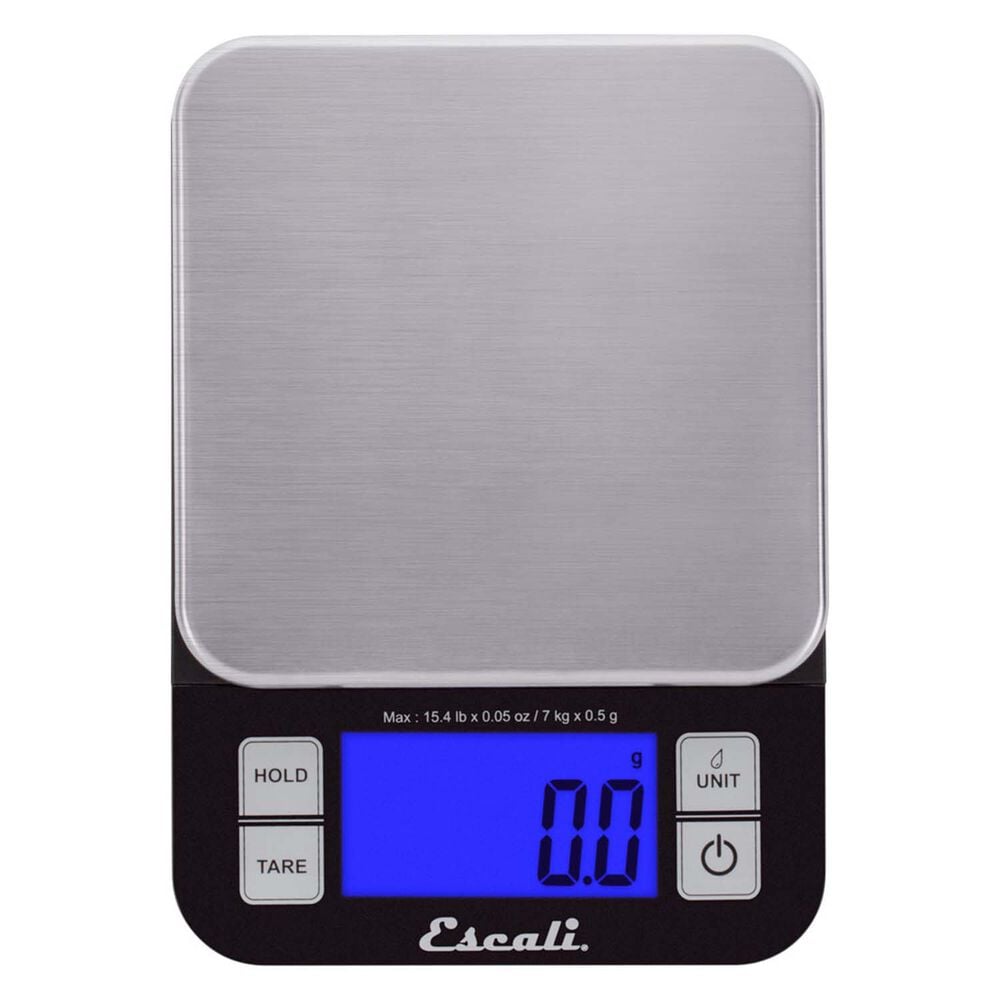
The Escali Nutro digital kitchen scale is my new favorite scale. It measures accurately to half grams (.5) which is helpful for accurately measuring salt. The scale also is easy to keep clean and it maintains the last measurement setting (e.g., grams). It also has a “hold” feature which is helpful when measuring large bowls which cover the display. You can remove the bowl and see the last measurement on the scale.
Digital Kitchen Scale
A digital kitchen scale is an essential tool for sourdough baking. You should find one that is easy to clean as you will typically get flour in every crack and crevice. Also, for measuring salt, it is helpful to have a scale that can measure in fractional grams (one decimal), if possible. The Ozeri scale shown here is an inexpensive, popular choice, but I do not own it.
mixing and bulk fermentation
Silicone Baking Mat – Small
I use a SilPat silicone baking mat, similar to the one shown here, on my countertop. It helps keep bowls from sliding around, it keeps flour from flying everywhere and it is a grippy surface for loaf shaping. Some people prefer shaping on a smoother surface (e.g., granite countertop) but I like a little grip on the mat. The primary benefit of the mat is keeping the kitchen clean and keeping flour under control.
Silicone Baking Mat – Large
This is the larger silicone mat I’ve been using in my videos since early 2023.
It helps keep bowls from sliding around, it keeps flour from flying everywhere and it is a grippy surface for loaf shaping. Some people prefer shaping on a smoother surface (e.g., granite countertop) but I like a little grip on the mat. The primary benefit of the mat is keeping the kitchen clean and keeping flour under control.
DOAP – Scrubbing sponge
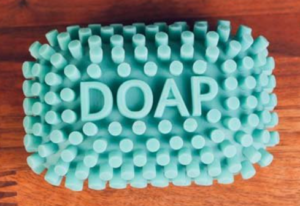
Doap is a stiff silicone scrubbing sponge. It is made by a sourdough baker and specifically engineered for cleaning sticky dough off of your hands, bowls and tools.
It is one of the most innovative and best-designed products I’ve ever seen. So simple and effective. Highly recommended.
Bulk Fermentation Bowl – Glass
A measuring vessel for bulk fermentation is an essential tool. I use a measured bowl similar to this for bulk fermentation in many of my videos. It is a 2-quart / 2-liter bowl which is sufficient for measuring approximately a 40% rise in the standard 1,000g flour-weight Tartine recipe. If you make larger batches or prefer a higher percentage rise, you will need a larger vessel.
For bulk fermentation, I recommend a straight-sided vessel, or a vessel with milliliter volume measurements such as this one. Many people also prefer Cambro brand food storage containers for bulk fermentation.
Bulk Fermentation Bowl – Plastic
Cambro makes a popular line of food storage containers. Many bakers use these for bulk fermentation. They are straight-sided vessels with measurement marks and they come in various sizes and shapes.
I prefer the 2-quart / 2-liter round Cambro which is perfect for measuring a 30-40% rise in the popular Tartine Country bread 1,000g flour-weight recipe. If you prefer a higher percentage rise or if you make larger batches, you will need a larger vessel. These containers come with or without lids.
Bulk Fermentation Bowl – Single Loaf
If you are making a single loaf (e.g., less than 500g flour weight), the classic Pyrex 4-cup / 1 Liter measuring cups are perfect for measuring the rise in bulk fermentation.
For example, I make 400g flour-weight loaves which mix up to an initial mixed volume of about 600ml. I put the dough in this vessel after stretch and folds. A 30% rise is 780ml, a 50% rise is 900ml, etc. The measuring lines only go up to 1,000ml on these vessels, but the top of the rim is 1,300ml, so it will support a 115% rise on 600ml starting point.
If you are making 500g flour-weight loaves, they typically mix up at 750ml of starting volume. This vessel would support a 75% rise to the top of the rim for that size loaf.
Bulk Fermentation – Cambro 6 QT / 6 Liter Vessel
These popular “Cambro” food storage containers are a popular choice for bulk fermenting larger batches of dough. They come in many shapes and sizes. This 6-Liter rectangular container is a good fit for 3-loaf or 4-loaf batches of dough (1500-2000g flour weight). A 2,000g flour-weight batch will generally mix up at about 3,000 milliliters in volume. This vessel would allow that batch of dough to double before cresting the rim.
This vessel also fits (snugly) in the Cooluli Warm/Cold Proofer shown on this page.
Elaine Foodbod’s Recommended Bulk Fermentation Bowl
Elaine Boddy’s popular Foodbod Sourdough recipe uses a specific bowl to measure when bulk fermentation is finished. Elaine uses this specific bowl, the 23cm / 2.5 quart / 2.4 Liter Duralex Lys bowl.
Elaine’s recipe calls for an overnight bulk fermentation and “doubling” in volume of the dough, which she measures when it hits the bottom of the rim line on this bowl. I’ve measured the volume of the vessel and the bottom of the rim is about 1750ml. Assuming a 500g flour-weight loaf and a mixed volume of 750ml, the bottom of the rim is actually a 113% increase in volume (more than double). I prefer a bowl with milliliter markers like the examples shown above, but some bakers like to “eyeball” the rise. But if you follow Elaine’s recipe and process, this is the bowl she uses — and produces consistent results.
These bowls are often sold in a set, but if you shop around (for example at Sur La Table in the U.S.) you can find this size sold individually.
Proofers and temperature control
Brod and Taylor Folding Electric Dough Proofer
An electric dough proofer is a luxury upgrade, but one of the first “investments” you should consider after assembling your basic toolkit.
The Brod & Taylor folding electric proofer will keep your dough at a constant temperature during bulk fermentation. It has a thermostat and an electric warming plate in the bottom (it only warms, does not cool). It is ideal for keeping your dough warm during cooler seasons, or bulk fermenting consistently at temperatures higher than room temperature.
I was previously using my oven with light on as a makeshift proofing chamber before receiving the B&T proofer as a gift. It folds up for easy storage and is very easy to setup up, clean up, and breakdown for storage.
I recommend monitoring your dough temperature with a probe thermometer the first few times you use it to get familiar with how quickly/slowly the dough temperature changes. Always check the temperature in the center of the dough. It changes more slowly than the surface temperature or the proofer temperature setting.
IVYX Incubator – Small (5-Liter Capacity) – Heats and Cools
I use this “incubator” from IVYX Scientific, to control my dough temperatures for overnight bulk fermentations. This is the unit featured in the “Sourdough Brothers: Sourdough for Busy People” video.
The advantage of this incubator over other proofers is that it heats and cools so you can use it year-round. In the summer this will keep my dough cool and in the winter it will keep my dough warm. It also automatically switches between heating and cooling mode if you have wide temperature variations within the same day.
You will hear the unit switch on and a very quiet fan running when the unit is heating or cooling (intermittent, short intervals).
The temperature range of this unit is 32-131F / 0-55C. These units are better at maintaining dough temperature rather than significantly moving the dough temperature, so they work best with dough near its desired dough temperature (+/- 5F/2.5C).
You can receive a 10% discount by using the code “PROOF” when you make a purchase.
Fermentation Vessels
Tall Rectangle – This is the largest, food-safe vessel you will find for this unit. It has a 3.8-liter capacity. It fits snugly on the sides and without the lid.
Short Rectangle – This is great vessel for single-loaf batches where you may want to do stretch and folds during the fermentation process (e.g., Tartine). It has a 1.4-liter capacity. The vessel fits snugly in the unit, without the lid.
Short – This vessel has a 1.7 liter capacity. It is great for single loaf batches.
Low-profile: These 2.3 liter food storage containers only come in an 8-pack. I’m continuing to look for an alternative. This is a food-safe storage container and best for for stretch and folds versus the taller vessels shown below.
Tall Acrylic Rectangle – This tall, rectangular flour vase has a 3.2-liter capacity and a perfect fit for maximum capacity. This item is not labeled as “food safe.” Most acrylic is BPA-free.
Tall Glass Cylinder – This tall, glass flour vase has a 2.1-liter capacity.
Tall Acrylic Cylinder – This tall, acrylic flour vase has a 2.1 liter capacity. This item is not labeled as “food safe.” Most acrylic is BPA-free.
Incubator – Large (25L Capacity) – Heats and Cools
I have recently started using this “incubator” to control my dough temperatures for overnight bulk fermentations.
The advantage of this incubator over other proofers is that it heats and cools so you can use it year-round. In the summer this will keep my dough cool and in the winter it will keep my dough warm. It also automatically switches between heating and cooling mode if you have wide temperature variations within the same day.
This is a bulky appliance. It is the size of a small refrigerator. It will generally not fit under your countertop cabinets unless you turn it on its side. You will hear a fan running when the unit is operating. It also has a quite mode where the fans run at much quieter half-speed.
You can also use this for final proofing at temperatures warmer than refrigerator temps. For example, some bakers prefer final proofing at 50F/10C. The temperature range of this unit is 36-140F / 2-60C.
Use the discount code PROOF for a 10% discount.
Note: In some of my videos I’ve show a similar unit from Vevor, but I do not recommend that unit as it has an unshrouded circulating fan inside the top of the unit. If you’ve already purchased that unit, I recommend always turning the unit off before loading or unloading dough.
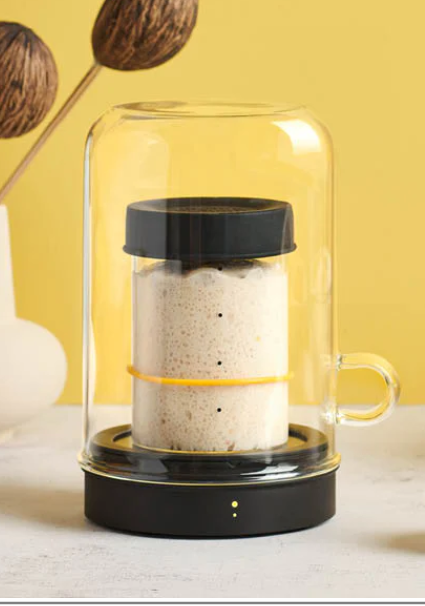
Goldie, by Sourhouse – Starter Temperature Control Unit
“Goldie” is the new sourdough starter temperature control unit from Sourhouse. It has a warming pad that keeps your sourdough starter between 75-82F/24-28C. It is great for people with cold kitchens. The product also comes with a “cooling puck” (a small freezer disc) that you can use to cool your starter also. The combination of warm and cool temperature control provides a lot of options for controlling your starter’s peak time for baking, or just for daily starter maintenance.
The standard package does not include the starter jar, but I recommend the jar also. It comes in 1-pint or 1-quart sizes, it has no threads, a silicone cap and is made of borosilicate (laboratory quality) glass. It is the easiest-to-clean starter jar I have ever seen or used.
I also bought the extra three-pack of cooling pucks because I tend to cool down my starter when I’m trying to time the peak for use in baking (e.g., overnight leaven build).
Sourdough Home from Brod and Taylor
Brod and Taylor recently released a new product, the Sourdough Home. It is a temperature control unit for your sourdough starter and it keeps your starter warm or cold. This is a real breaktrough in sourdough starter maintance. It is a thermostatically controller device where you can select any temperature between approximately 41-122F / 5-50C and it will maintain that constant temperature by warming or cooling.
Note, at 41F/5C, the unit does not quite get down to “refrigerator temperature.” My unit only gets down to about 43F/6C at the lowest setting. This unit has a continuously running fan when it is operating.
The capacity is fairly small at approximately 5″ x 5″ x 7.5″.
Fermentation Vessels
I have suggested to the manufacturer that they sell a bulk fermentation vessel fitted for this unit. In the meantime, here are a few options that fit in the unit.
Short – This vessel has a 1.7- liter capacity. It is great for single loaf batches.
Tall – This vessel has a 1.8-liter capacity and works well for single-loaf batches. If you are in Canada, here is a similar 1.8-liter vessel.
Low-Profile Square: This 5″ x 5″ x 5″ acrylic, square flower vase has a 1.5-liter capacity. This works for 500g flour-weight loaves (allowing them to double in volume). This vessel is not labeled as “food safe.” Most acrylic is BPA-free. You can probably find a similar size in glass.
Tall Round Glass: This starter jar from Rowdy Rocket has a 2 liter capacity. This is the largest glass jar I’ve found with milliliter marks on it. It does not fit with the lid on it, but I cover it with plastic wrap inside the Sourdough Home. Note: the 2-liter version is the 68 oz option. They also sell a 1500ml option (50 ounces), which would fit in the Home with the lid on it.
Glass Cylinder:” This 5″ x 7″ glass flower vase has a 1.8-liter capacity. You can find similar products in acrylic.
Cooluli Warm/Cold Proofing Fridge – 20 Liter Capacity
I have only tested this unit for a short time, but it is becoming one of my favorite warm/cold proofing options. This unit has a thermostat where you can set any temperature (warm or cold) and it will maintain that temperature. This unit is great for keeping your dough cool in the summer and warm in the winter.
This is a very quiet-running unit with two heating/cooling elements, so it is a bit more powerful than some of the small units. It also has a very large capacity of 20 liters. This makes it large enough use the popular Cambro 6-Quart Rectangular food storage container for bulk fermenting large batches of dough.
This unit also fits on your countertop under your cabinets, unlike the larger, 25-Liter incubators shown above. However, if you have under-cabinet lighting, this unit has a fairly low clearance from your cabinet lighting. I removed the bulb from my light above this unit because it was warming the top of the unit too much.
For the price, this is a full-featured unit with a large capacity.
You can find very similar units at Vevor sometimes at better prices.
Cozy Bread Warming Mat with Thermostat Control
The Cozy Bread Warming Mat can be used keep your starter or dough warmer than room temperature. This new product has a thermostat controller, which is a great feature at a nice price point. Many other warming mats are lacking this functionality.
This is a large mat. You can also place the warming pad in an enclosed space to create your own proofing chamber.
You can use this warming mat to warm a bowl of dough for bulk fermentation, but be aware that it will warm the bottom of the dough much more quickly than the rest of the dough. For more even bulk fermentation, consider placing your dough on a cooling rack above the mat and enclose the warming mat in a proofing chamber (a cooler, a plastic storage bin) to better regulate the overall dough temperature. Always be careful when putting any heating device inside an enclosed space!
Cozy Bread has some new models coming out shortly. Watch this space for new products.
Temperature Controlled Warming Mat
This inexpensive warming mat has a dimmer-style temperature control wheel. You cannot set it to a specific temperature, but with some practice, you can determine which position on the wheel will maintain your desired temperature.
This unit also comes with a small probe thermometer. The thermometer is not integrated into the unit.
An inexpensive option with some temperature control. This unit is good for warming your starter jar, or for making a DIY proofing chamber.
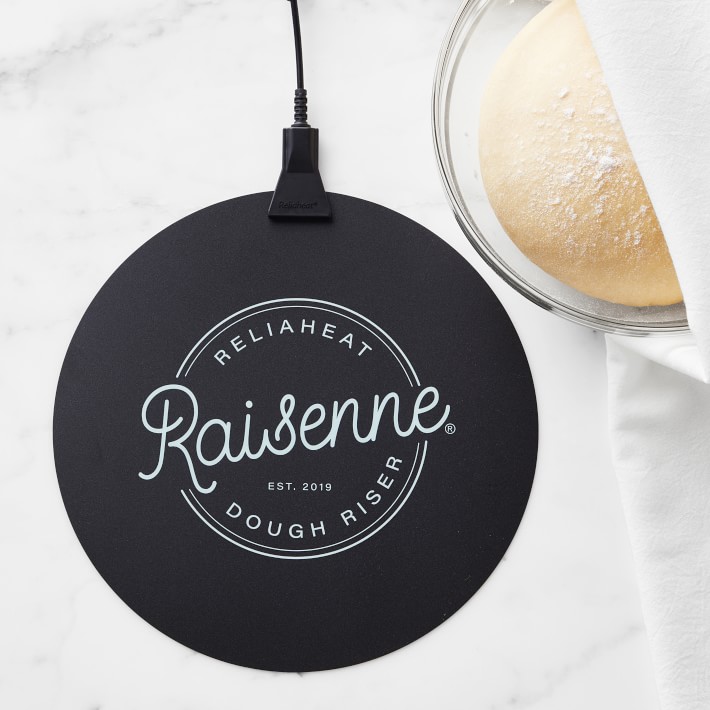
Raisenne Dough Riser
The Raisenne Dough Riser is a warming pad which can be used to warm your dough during bulk fermentation or to warm your starter. The warming pad will warm and/or maintain your dough or starter temperature to approximately 78-85F/25.5-29.5C.
You can also place the warming pad in an enclosed space to create your own proofing box.
I frequently use this warming pad to “jump start” my starter when I take it out of the refrigerator and feed it prior to baking.
You can use this warming mat to warm a bowl of dough for bulk fermentation, but be aware that it will warm the bottom of the dough much more quickly. You can moderate the temperature by placing your bowl on a towel, or a cooling rack above the warming mat. For bulk fermentation, it is best to enclose the warming mat in proofing chamber to better regulate the overall dough temperature.
Always be careful when putting any heating device inside an enclosed space.
Jar Warmer
This jar warmer is made for seed-starting, but also works well for warming your starter jar. The heated wrap is quite long (20 inches / 51cm).
It has a “dimmer style” temperture control wheel. You cannot set it by degrees, but with some trial and error, you can determine which position on the wheel maintains your target temperature. I set it about 25% past the “Off” position to maintain approximately 76F/24C.
Generally, you don’t want to maintain your starter for long periods of time at temperatures higher than 80F/27C. It can become very acidic. A good “warm” temperature is approximately 76F/24C.
This is a very inexpensive tool to keep your starter warm. It is also probably large enough and warm enough to use as a dough warmer, although I have not tested it in that capacity.
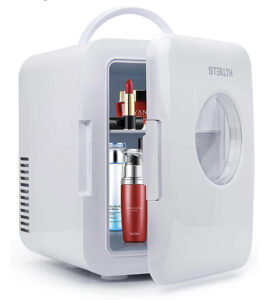
Mini Fridge – DIY proofer
If you are making single loaves of bread, you can make your own heating or cooling proofing chamber by using a miniature refrigerator. These refrigerators are usually 4-Liter capacity and some have an option to work in either cooling or heating mode. There is usually a switch on the back of the device to select the mode (heat or cool). These devices are not thermostatically controlled, so if you want to use it as a proofing device, you need to use a Thermostat Controller, shown below.
The Bonsenkitchen model I use in some of my videos is no longer available. The model shown here appears to be the same unit under a different brand name.
This unit has roughly the same interior dimensions as the Brod and Taylor Sourdough Home (shown above), and would use the same size vessels show with that product.
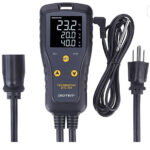
Thermostat Controller
A thermostat controller can be used with many DIY proofer projects. I use this device with a mini-fridge to regulate the temperature. This model works in either heating or cooling mode (one or the other, not both at the same time). It works well with mini refrigerators that have both a heating mode and a cooling mode (usually a switch on the back).
If you are using your mini-fridge in heating mode, I suggest putting the probe closer to the heating element — not in the center of the dough. These devices heat up very hot and very quickly. If you put the sensor in the dough, it will cook the outside of the dough before the center heats up. In cooling mode, I often insert the sensor directly in the dough. This device is featured in the video, Post-Pandemic Sourdough for Busy People.
shaping
Bench Scraper / Bench Knife – Non-stick
In addition to the stainless steel bench scraper, I also use a non-stick coated bench knife — the Campbell’s Dough Knife from the UK. I use both the small and large size versions (6 inches and 8 inches). The non-stick surface is slightly better than the stainless scraper, in my experience.
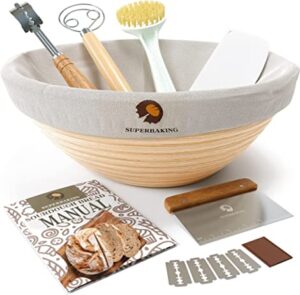
Beginner’s Baking Kit with One Banneton (various shapes available)
I’ve recently tried these bannetons from Superbaking. They come with a liner and few tools for beginning bakers. The kit includes the banneton, a liner, a lame, a bench knife, a bowl scraper, a dough whisk, and a banneton brush. The tools are inexpensive, but good for someone getting started. The bannetons are very high quality and normally the bannetons alone would sell for the price of this entire kit.
You can select the shape banneton to include in the kit. I have the oval banneton for batards. The oval bannetons are quite large. I use them for 500g flour-weight loaves. They are too large for anything smaller than that.
All of the bannetons come with tools. I’ve reached out to Superbaking to request that they begin selling the bannetons alone. They are very nice.
Beginner’s Baking Kit with Two Bannetons (round and oval)
I’ve recently tried out this new beginner’s kit from BREAD ART. It includes two bannetons, a round and an oval. The quality of the bannetons is good and the size is best for larger loaves (500g flour-weight boules or batards).
I particularly like the oval banneton for batards. The bannetons alone are worth the price of this whole set. It includes the two bannetons with liners, a dough whisk, a banneton brush, a lame wiht 5 blades, a plastic scraper and a very nice metal bench knife/scraper. The bench knife feels very nice in the hand for shaping.
This is a good quality, affordable kit for bakers just getting started, or if you are looking for a round and oval banneton, plus some handy tools.
Banneton Liner (and template for Decorative Scoring)
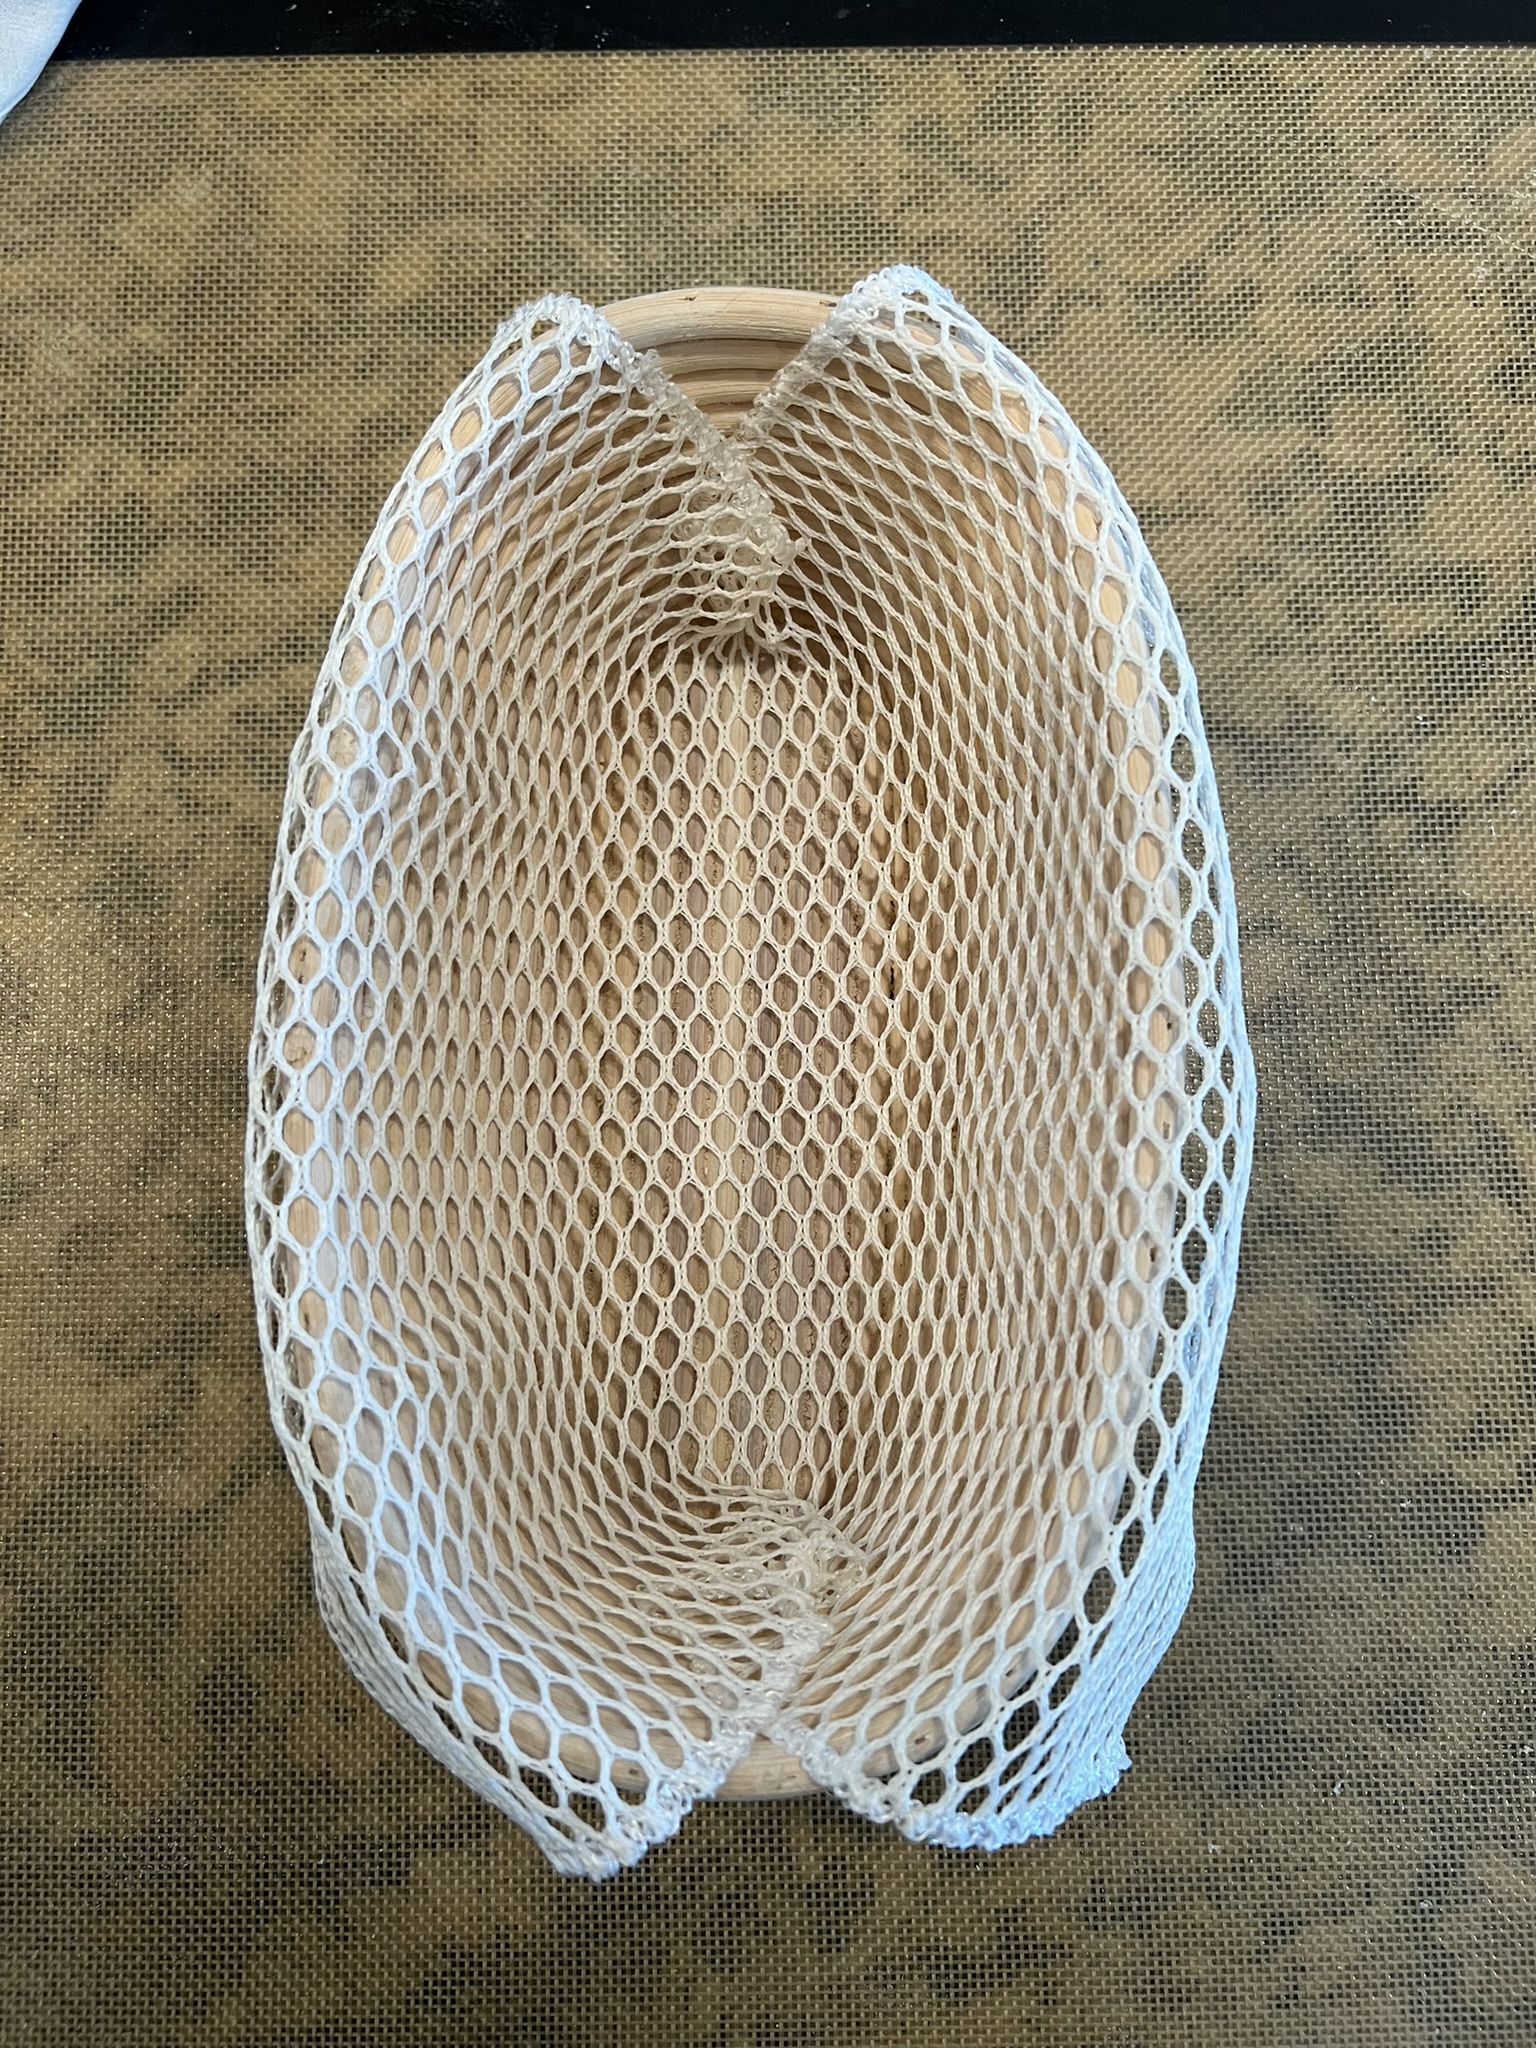
These synthetic scrubbing dish cloths are helpful for cleaning the rim of your starter jar or other caked-on dough/starter.
However, I also use these as a banneton liner.
These are the banneton liners I use in the video, “The Sourdough Brothers: Sourdough for Busy People.”
These liners help the dough easily release from the banneton, and they create a unique pattern on your loaf. If you lightly dust your loaf with rice flour before removing the liner, you’ll get the pattern on your baked loaf. I have stopped flouring my bannetons since I began using these liners. My bannetons are bare ratan with no flour on them.
Check out the originator of this decorative method at https://www.instagram.com/marielesterbaker
Banneton Liner – Flour Sack Cloths
Some bannetons come with cloth liners. I prefer to use “flour sack cloths.” This is a linen towel with a tight weave and can be doubled up or cut to size.
I use these to create makeshift bannetons in bowls, loaf pans, or any other vessel that will hold shape. I also use these to cover my dough while resting between pre-shaping and final shaping. These are inexpensive versatile cloths with many uses.
There are many comparable products in different sizes, texture and price points. Shop around for the best deal. I purchase mine locally from an Amish hardware store (Lehman’s in Kidron, Ohio). I cut the large towels into four segments and hem the edges (actually, my sister does that part).
The towels in the link are available on Amazon and look similar to the product I use.
Flour Shakers
When shaping your dough, it is helpful to keep some flour in a shaker so you do not need to drag bags of flour out while shaping.
Also, I keep a few blends of flour in these shakers for various reasons:
- 100% Bread Flour for dusting loaves when shaping
- 50/50 mix of Bread Flour and Rice Flour for dusting banneton liners
- 100% Rice Flour for dusting bottom of loaves prior to baking
These shakers are inexpensive and help keep your kitchen clean and organized.
scoring
Lame – Various Styles from WireMonkey
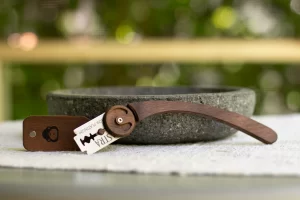
In addition to the popular disc-style lame (the “UFO”), WireMonkey also has some innovative new designs. I use both the “Goose” and “Poco” lames. The Goose is great for standard slashing and intricate designs. The Poco lame is a good (and safer) alternative to holding a naked razor blade for freehand scoring of intricate patterns.
If you click the photo on the right to navigate to WireMonkey, you will receive a 10% discount applied when you press “Check Out.” I receive small commission on these sales. I would recommend these popular lames even without that incentive.
Lame – Disc Style – Make Your Own!
In this video, I demonstrate how to make your own disc-style lame for less than $3 using common parts found at a hardware store. If you are using a lame with an exposed blade, also think about how you will safely store it. I use a small tin with a screw top.
Similar lames from UFO and WireMonkey are popular among sourdough bakers.
Note: In this video, I recommend a 1.25″ / 32mm disc because I prefer more of the blade exposed. Some users have used larger sized discs (1.5-2″ / 38-50mm) with success (but less of the blade exposed).
baking and slicing
Dutch Oven
A Dutch oven is an essential tool for sourdough bakers. I have an inexpensive 6-quart/6-liter round dutch oven which I use in many of my videos (not shown here). I also have this Lodge 7-quart oval dutch oven for larger batards (500g flour weight).
The smaller sized batards I make in many of my videos (250-330g flour weight) fit in the round 6-quart dutch oven. Lodge dutch ovens (enameled and cast iron) are popular among sourdough bakers.
When choosing a Dutch oven, I always recommend choosing a larger versus smaller vessel. This Dutch oven is my workhorse. I can bake anything in it and it produces great results.
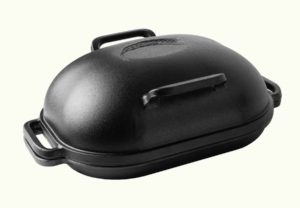
Challenger Bread Pan
The Challenger Bread Pan was designed by Jim Challenger specifically for sourdough home bakers. Jim, a baker himself, developed the pan over a number of years and many bakers love this top-of-the-line baking pan.
I started using pan in October 2022 and it is a game-changer. Honestly, I saw other bakers using it and didn’t believe the hype, but it really does bake better bread.
I also thought the pan was larger and heavier than it is based on comments from other bakers, but it is only slightly heavier than my largest Dutch ovens, and it is actually smaller than my large Lodge 7qt/7L oval Dutch oven. Stay tuned for an upcoming video on this product.
The Challenger Pan is expensive, but I’d consider this as an “investment” (after the Brod & Taylor proofer).
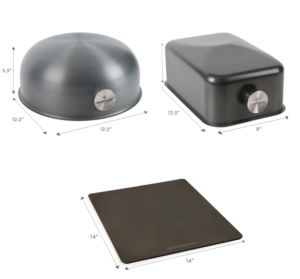
Brod and Taylor – Baking Steel and Shells (Rectangular and Round)
Brod and Taylor has launched a new line of sourdough baking products as an alternative to Dutch ovens:
- – Baking Steel: A 14″ x 14″ solid steel plate for baking in your oven.
- – Rectangular Shell: A 12″ x 8″ x 5.5″ aluminum rectangular “shell” you place on the steel.
- – Round Shell: A 13″ Diameter x 5.5″ aluminum round “shell” you place on the steel.
Because the shells are lightweight aluminum, they need either a higher baking temperature or longer time, covered, than a Dutch oven.
Dutch Oven – Rectangular
I purchased the Fiskars 5-quart rectangular Dutch oven in 2020. It is a moderately heavy cast iron and has a nonstick coating. It bakes beautiful loaves and is easier to store with its smaller size and flat, stackable lid.
It is just barely large enough for full-sized batards (500g flour weight) with a snug fit and little room to spare on the sides. If a very wide or relaxed loaf touches the sides it can cause some burning. It is more ideally suited for 330-400g flour-weight loaves. This is a luxury upgrade in my opinion for those who typically make smaller batards (and I love the Nordic design).
These are expensive but can be found on sale from time to time. The compact design with a flat top also makes it easy to store it a tight kitchen.
The BreadMat – Perforated Silicone Dough Sling
The BreadMat from Rosehill Farms is a perforated silicone bread mat. Other silicone slings are generally not perforated. I get better baking results with this perforated silicone sling than I do with other non-perforated versions. These are a fantastic product and I strongly recommend them. I never bake without them.
The BreadMat eliminates the need for parchment paper, it is easier to handle when lowering the dough into the Dutch oven, and it helps keep the bottom of your loaves from burning. The “handles” of the mat do get hot. Always use oven gloves when handling silicone mats. The BreadMat also comes in difference sizes, including one custom-sized for the popular Challenger Baking Pan.
Dough Sling
Some bakers use the silicone dough sling (shown here) to reduce parchment paper waste. I prefer the perforated silicone sling from Rose Hill Farms (shown above) over this style. Note: all silicone slings get very hot in the oven. Use gloves when removing them.
Some bakers also attempt to use scissors to cut rectangular silicone baking mats (e.g., for standard sheet pans) into a sling shape. This is not recommended because silicone mats often contain fiberglass strands which are not safe for human consumption and can fray on the edges of a handcut mat.
You can also purchase precut parchment paper, if you prefer not to use a silicone sling.
Oven Mitts / Gloves
Kitchen safety is the utmost importance and sadly, many bakers suffer unnecessary burns to their hands and arms.
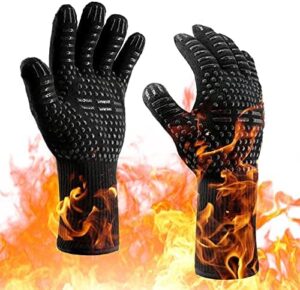
I recently upgraded from standard oven mitts to heat-resistant gloves which are rated for high temperatures. They are snug-fitting and a little more difficult to get on and off quickly, but they are more protective and provide a much better grip than mitts.
Check the temperature rating of your gloves and ensure they can handle the high heat of your oven and cast iron vessels. Many standard gloves are rated for 500F/260C but you will feel the heat penetration when holding a cast iron lid, for example, for more than a few seconds. Also look for a comfortable grip, a good fit and a forearm cover.
The Ove-Glove barbeque gloves are a popular brand among sourdough bakers but I recommend a glove that fully covers the forearm.
Some bakers use leather welder’s gloves or fireplace gloves which are all effective, and generally rated for higher temperatures than kitchen oven mitts.
Leather Gloves
I recently upgraded to these leather welder’s gloves from OZERO. These are the most heat-resistant gloves I have found yet. This pair runs a bit large (and I have large hands), and they take some time to get broken in. If you have smaller hands, you may want to find a tighter fitting pair.
They do not have as much dexterity as thinner gloves (e.g., for pickup up loaves on parchment paper), but the heat resistance is unmatched, especially when handling cast iron Dutch ovens.
These gloves are becoming my new favorite and will likely last a long time.
Brush
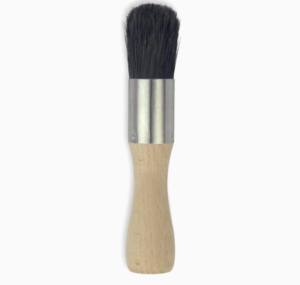
I use this brush to remove flour from the crust of finished loaves before slicing. Any craft brush from a local hardware store would work. This brush has a semi-stiff bristle.
Mercer 10″ Wavy Bread Knife
I recommend the Mercer 10″ Wavy Bread Knife. It is relatively inexpensive and high quality. It is an inexpensive workhorse with a stiff blade that makes confident cuts in tough crusty loaves.
I also recommend purchasing the plastic sheath to protect the blade. Always be careful when cutting your bread! Many mishaps and injuries occur when cutting through a thick sourdough crust.
Mercer also sells a 12″ version of this knife now. I have not tested it yet.
KUMA 10″ Bread Knife
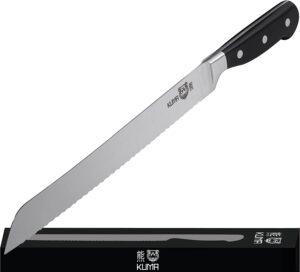
I’ve recommended the Mercer 10″ Bread Knife for years, but if you want to upgrade for a little more money, I strongly recommend the KUMA 10″ bread knife. This is a super-sharp knife that cuts thin slices, cuts through thick crusts, and handles the troublesome bottom crust with ease. This knife has a thinner blade than the Mercer and is super sharp! The knife does not come with a sheath, but the Mercer 10″ sheath fits this knife, if you store it in a kitchen drawer. I also like to use this knife with the slicing guide shown below.
Sourdough bakers can receive a 20% discount on KUMA knives by clicking the photo to the right.
Bread Slicer
I do not own the Zassenhaus bread slicer, but it is a popular option for those seeking a top-of-the-line bread slicer. It is an expensive alternative to a kitchen knife, but if you are slicing lots of loaves and want perfect slices and different thicknesses, this may be for you. Note: It does not appear to have a safety hand guard on the slicing side. Always be careful when slicing!
Cutting Board
I use this Boos Block cutting board in all of my videos. A good quality cutting board is a luxury upgrade for sourdough baking, but I use this every day in my kitchen as my primary cutting board as well (no meats!) I also recommend cleaning and seasoning with the recommended board oil and wax.
If you are purchasing a cutting board, I recommend finding one that will sit firmly on your countertop. Some boards have rubber feet on the bottom for a firmer grip, which is desirable. (This board does not have rubber feet).
I also have a less expensive cutting board I used for high-volume sourdough slicing so I do not mar the surface of the Boos Block when cutting through thick bottom crusts on sourdough loaves.
Knife Sharpener – Brod and Taylor
This is the best knife sharpener I’ve ever used. There are two models available a basic and professional model. The professional model is all metal.
This extraordinary sharpener can hone your knives (actually remove metal like a pro-sharpener) sharpen your knives to a razor sharp edge, and can be use to sharpen serrated knives, which is incredibly uncommon in a knife sharpener.
Highly recommended if you like working with very sharp knives.
starters and maintenance
Fresh Sourdough Starter from James Bridges
James Bridges is the curator of “Sourdough Geeks,” and he is now offering his own starter for sale in limited releases. James’ starter is unique. He has baked over 30,000 loaves with it in his bakeries, and his starter has never been refrigerated. Never refrigerating your starter typically favors different, more favorable, types of yeast and lactic acid bacteria.
I recommend that every new person interested in sourdough should consider buying an established starter. If you like the hobby, you can always create your own later, if that’s something you want to do.
When you purchase a fresh starter, you only need to feed it once or twice after receiving it, and you can be baking. Then keep feeding your starter and you can propagate it forever!
King Arthur Sourdough Starter – Fresh
The King Arthur Baking Company sells small jars of their fresh sourdough starter.
I recommend that every new person interested in sourdough should consider buying an established starter. If you like the hobby, you can always create your own later, if that’s something you want to do.
When you purchase a fresh starter, you only need to feed it once or twice after receiving it, and you can be baking. Then keep feeding your starter and you can propagate it forever!
Starter Jar
I use a 1-pint / .5 Liter canning jar for my starter. I purchase the white plastic screw-on lids separately and prefer these over the two-part metal canning lids that typically come with these jars.
Note: If you are maintaining your starter in a glass jar always keep a backup of your starter (dehydrated, frozen, separate container in fridge). Kitchen accidents happen and glass shards in your starter is an unrecoverable disaster.
Weck brand jars are another popular choice for starter maintenance. I prefer the threaded lid of the Ball jars.
Spoonula
The Spoonula is the ultimate starter maintenance tool. It has a flexible tip that is perfect for scraping down the insides of your jar after mixing. And the spoon is perfect for scooping about 25g of flour. Imagine if your mother was a spoon and your father was a spatula — the Spoonula is a game changer.
Starter Maintenance Kit
You will find many of these “starter maintenance kits” available now. They generally include a jar, lid, spatula, stick-on thermometer and elastic band. I like this set from Cozy Bread. It comes with a metal lid and the cloth lid (I don’t recommend using the cloth “bonnets” on these jars). And the lid is standard size that can be replaced with wide-mouth plastic canning jar lids. I use my Ball brand plastic lids on this jar. The long spatula is a nice feature in this kit. These jars are a little tall for me. I keep a small amount of starter and prefer a slightly shorter jar, but that is personal preference.
ph testers
Hanna Checker Plus
pH testers are a specialized tool for advanced bakers or science-minded sourdough bakers. They can help determine when your starter is at peak strength, and can help determine optimal fermentation points.
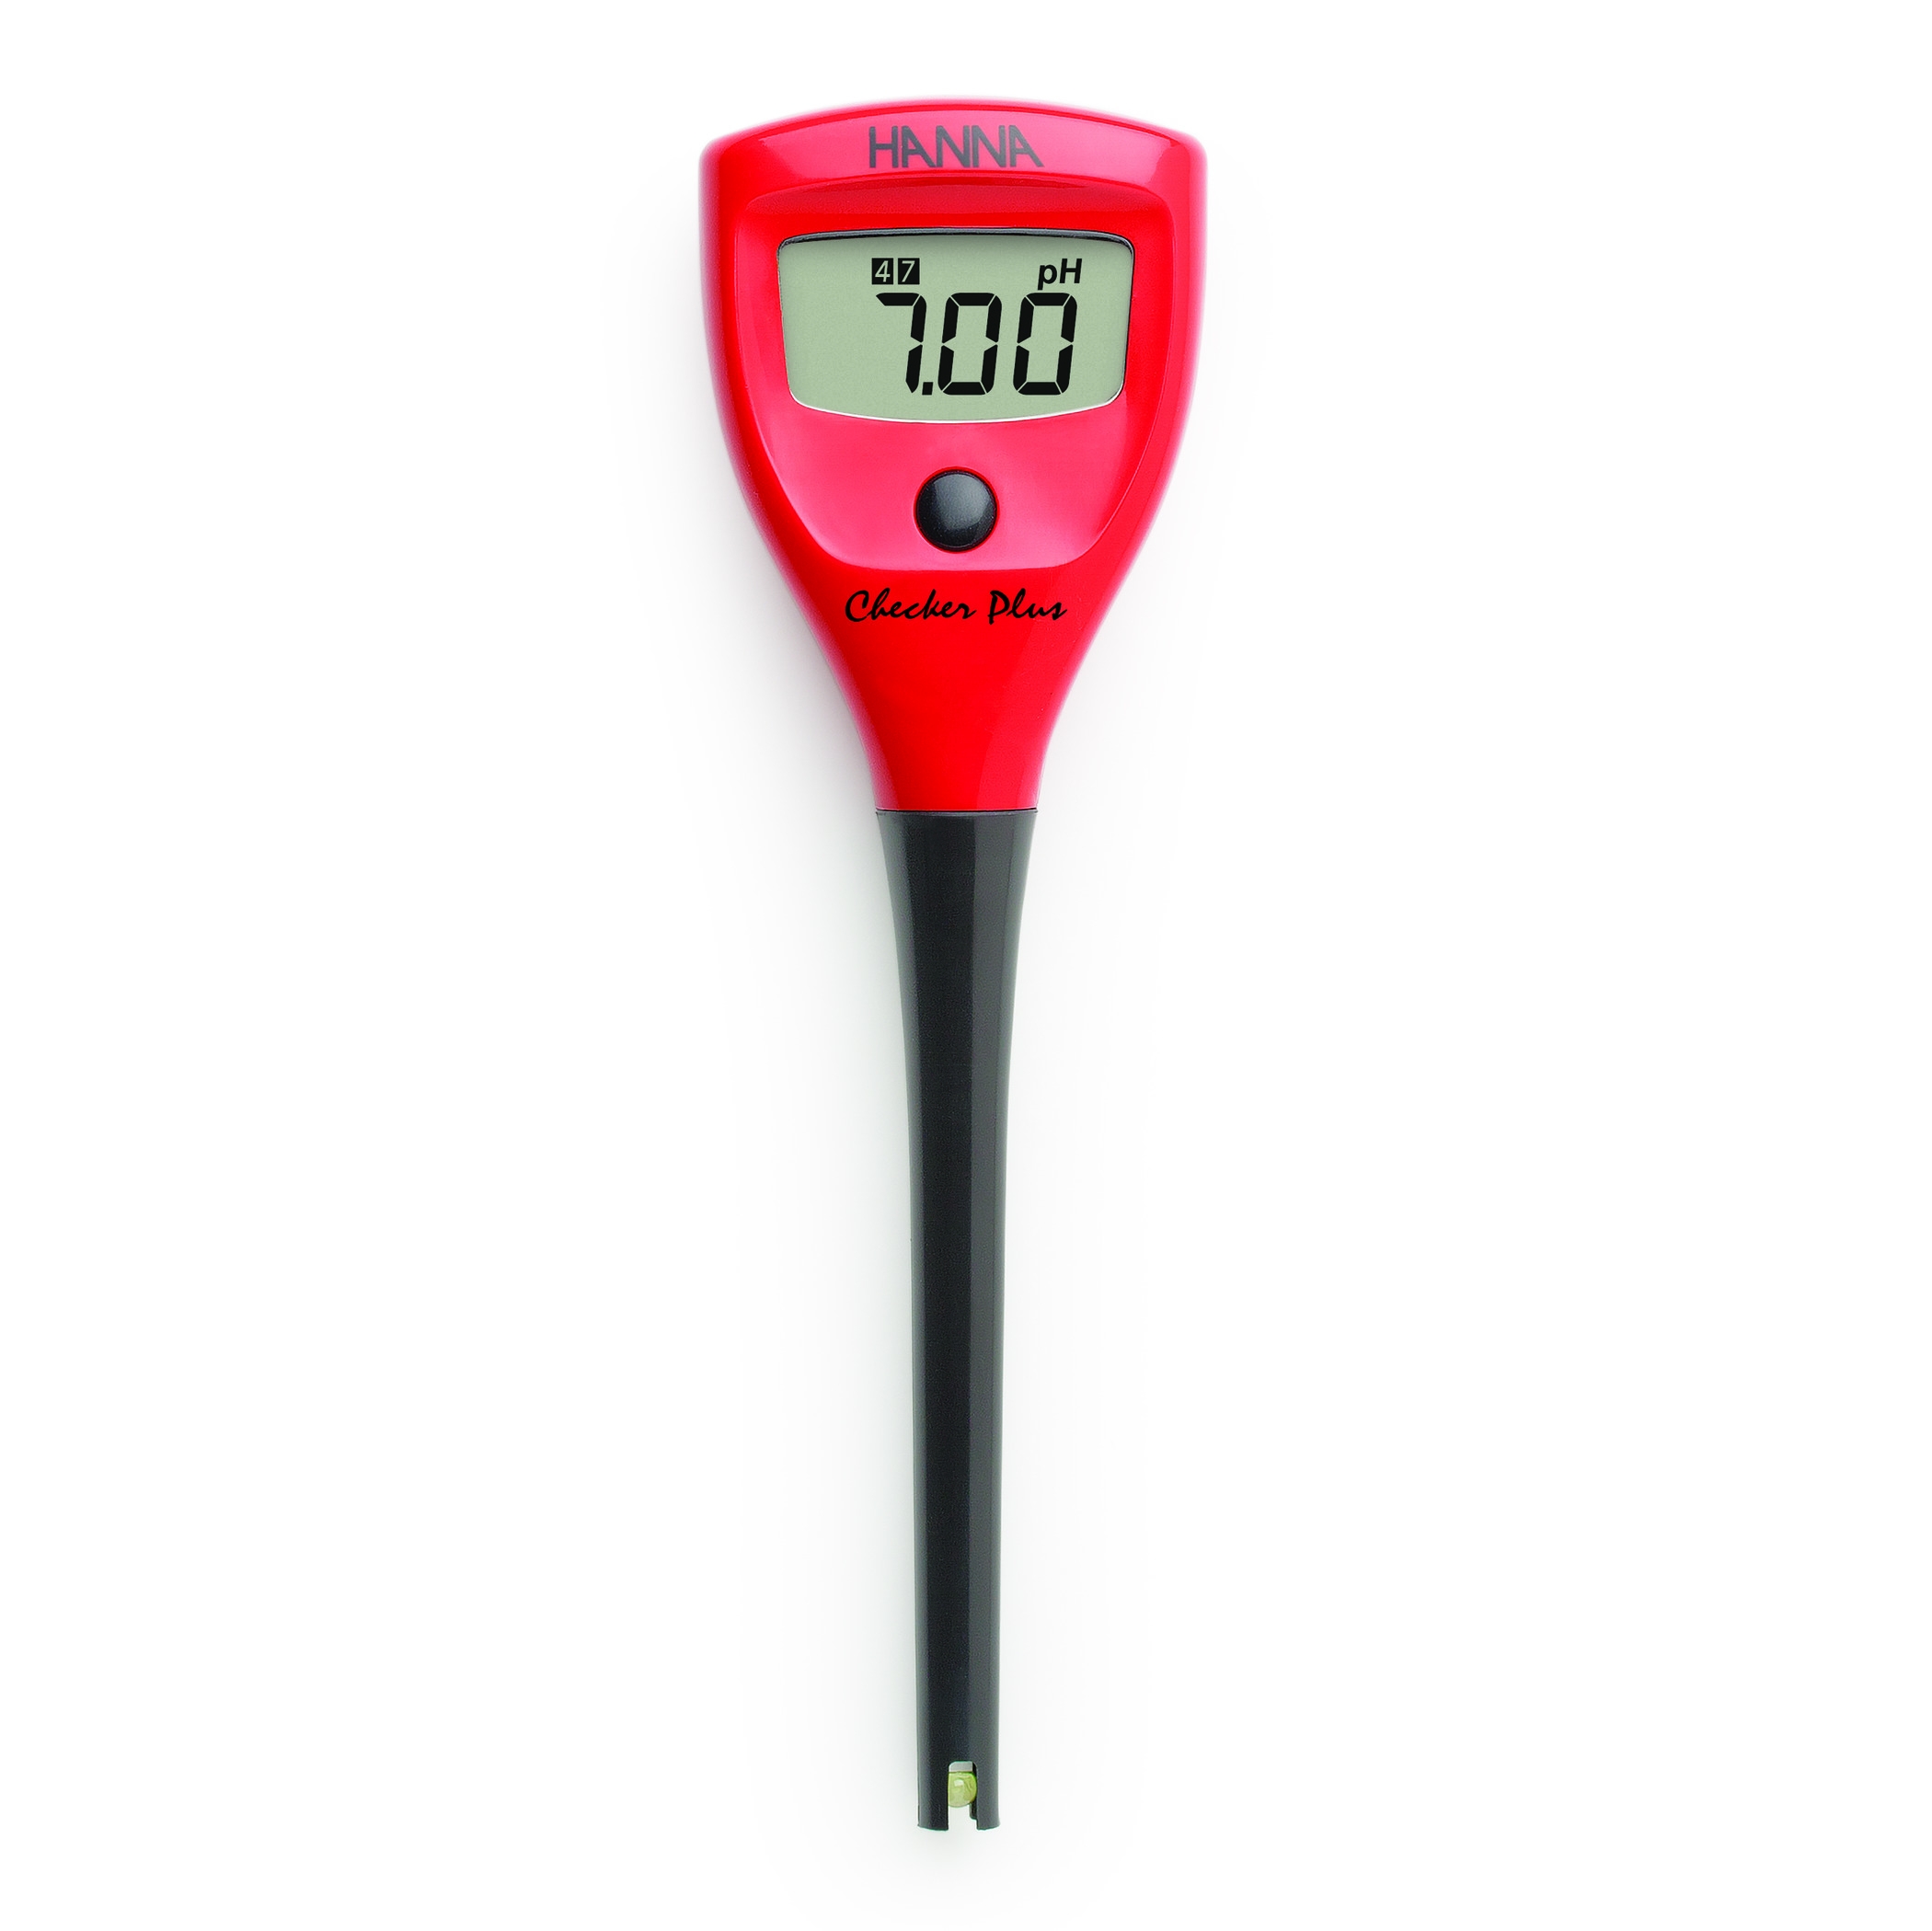
The Hanna Checker Plus is the least expensive pH tester I can recommend. It has 2 decimal points of accuracy (which is recommended) and an open bulb tip. Because it does not have a spear tip, it can be difficult to use on stiff dough, and it can be difficult to keep clean. I recommend this for getting started with pH testing or for relatively infrequent use. Use the code SOURDOUGH10 for a 10% discount on Hanna products. (US website and US shipping addresses only).
Check out the video, A Review of pH Testers for Sourdough Baking, for more details on which testers are right for you.
Note: pH testers require specialized cleaning, calibration and maintenance solutions. Consider these costs when making your purchase decision. This unit has a replaceable electrode.
Hanna Halo 2 Foodcare for Bread and Dough
The Hanna Halo 2 is a great pH tester at a reasonable price point. It is the lowest-priced spear tip tester you will find. It is a lab-quality tester with a bluetooth app for remote display and data logging. Use the code SOURDOUGH10 on the Hanna website for a 10% discount on Hanna products. (US website and US shipping addresses only).
Check out the video, A Review of pH Testers for Sourdough Baking, for more details on which testers are right for you.
Note: pH testers require specialized cleaning, calibration and maintenance solutions. Consider these costs when making your purchase decision. This unit also has a fixed (non-replaceable) electrode. The electrodes on any pH meter can wear out over time, especially with heavy use.
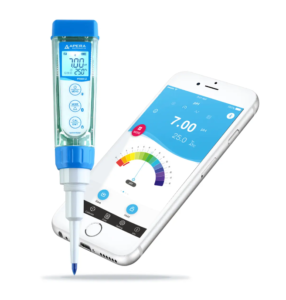
Apera ZenTest PH60S-Z
The Apera ZenTest is a top-quality spear tip pH tester with the same features as the Hanna Halo 2, but it has a more robust, cloud-based data management platform. If you are interested in logging your pH data for analytics and reporting, I prefer this tester. Use the code SOURDOUGH20 on the Apera website for a 20% discount on Apera products.
Check out the video, A Review of pH Testers for Sourdough Baking, for more details on which testers are right for you.
Note: pH testers require specialized cleaning, calibration and maintenance solutions. Consider these costs when making your purchase decision. This unit has a replaceable electrode.
flour Mills
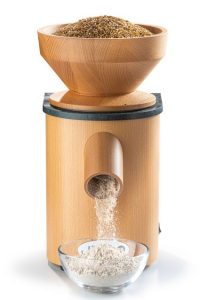
The Mockmill
If you are interested in milling your own whole grains at home, Mockmill is a popular home milling option. Many bakers prefer home milling because of the nutritional benefits of milling fresh, whole grains, and the sustainability benefits of reducing waste created by factory-milled flours. Fresh-milled flours are also delicious.
I have not used this product yet, but it is very popular among home millers and sourdough bakers. Stay tuned for upcoming experiments and videos on this topic!
flour
Flour – Central Milling Company
I have had good success with Central Milling Company Flours. I typically use a 50/50 blend of High Mountain High Gluten Bread Flour and Artisan Baker’s Craft – Plus for my bread flour. I also have had good success with many of the whole grain flours from Central Milling. Also, the Type 85 Old World flour makes wonderful loaves.
The shipping costs are expensive, but you may be able to find it locally at a restaurant-supply store.
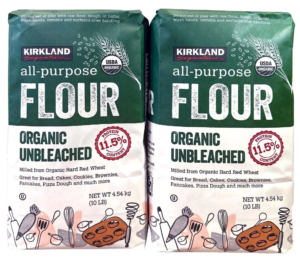
Kirkland (Costco) All Purpose Flour
In 2023, Costco began selling this “All Purpose” flour in 10-pound bags. It has been learned that this flour is made by Central Milling Company and it is very similar to their Artisan Baker’s Craft Plus flour. It feels like it is slightly higher protein than that flour. It is somewhat mislabeled as an “all purpose” flour. It clearly behaves like a high quality “bread flour.” I’ve had very good results with this flour recently.
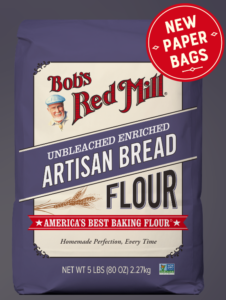
Flour – Bob’s Red Mill
In 2024, I began using Bob’s Red Mill Artisan Bread Flour. It produces beautiful results. If you are looking for an open crumb sourdough loaf, it is one of the best “supermarket” flours I’ve used. Bob’s Whole Wheat Flour is also excellent.
Bob’s is not labeled as “organic” and has a very mild flavor profile, but as the foundation for an aesthetically beautiful loaf, it is a winner.
Flour – Janie’s Mill
I recently began using flour from Janie’s Mill. Two of these flours are featured in my video “Experimenting with Bread Flours.” The flours from Janie’s Mill are stone ground and contain more bran and germ than many other flours. They bring a lot of flavor, great texture and active fermentation.
Flour – Hayden Mills
Hayden Mills is a specialty mill in Arizona, milling artisan flours from native Sonoran wheat, only grown in the Arizona desert. I’ve tried a few samples of this flour. Its unique flavor profile is somewhat nuttier than other flours, and the texture makes wonderful loaves.
The flour is quite expensive in small quantities, but it is an interesting flour to experiment with. These flours are featured at Danny Guerra’s Barrio Bread in Tuscon, AZ.
Flour – Cairnspring Mills
Cairnspring Mills grow their wheat in the legendary Skagit Valley near Burlington, Washington. These extraordinary flours are the preferred flours used at Tartine Bakery. I’ve tried them a few times and they are wonderfully flavorful flours with strong gluten.
The flours are expensive but occasionally go on sale. The “Trailblazer” bread flour is a popular choice for sourdough bakers.


