The Secrets of Baking Temperatures and Ovenspring
Over the last 3 months I’ve been doing a number of experiments on baking temperatures, methods, vessels and their impact on sourdough ovenspring.
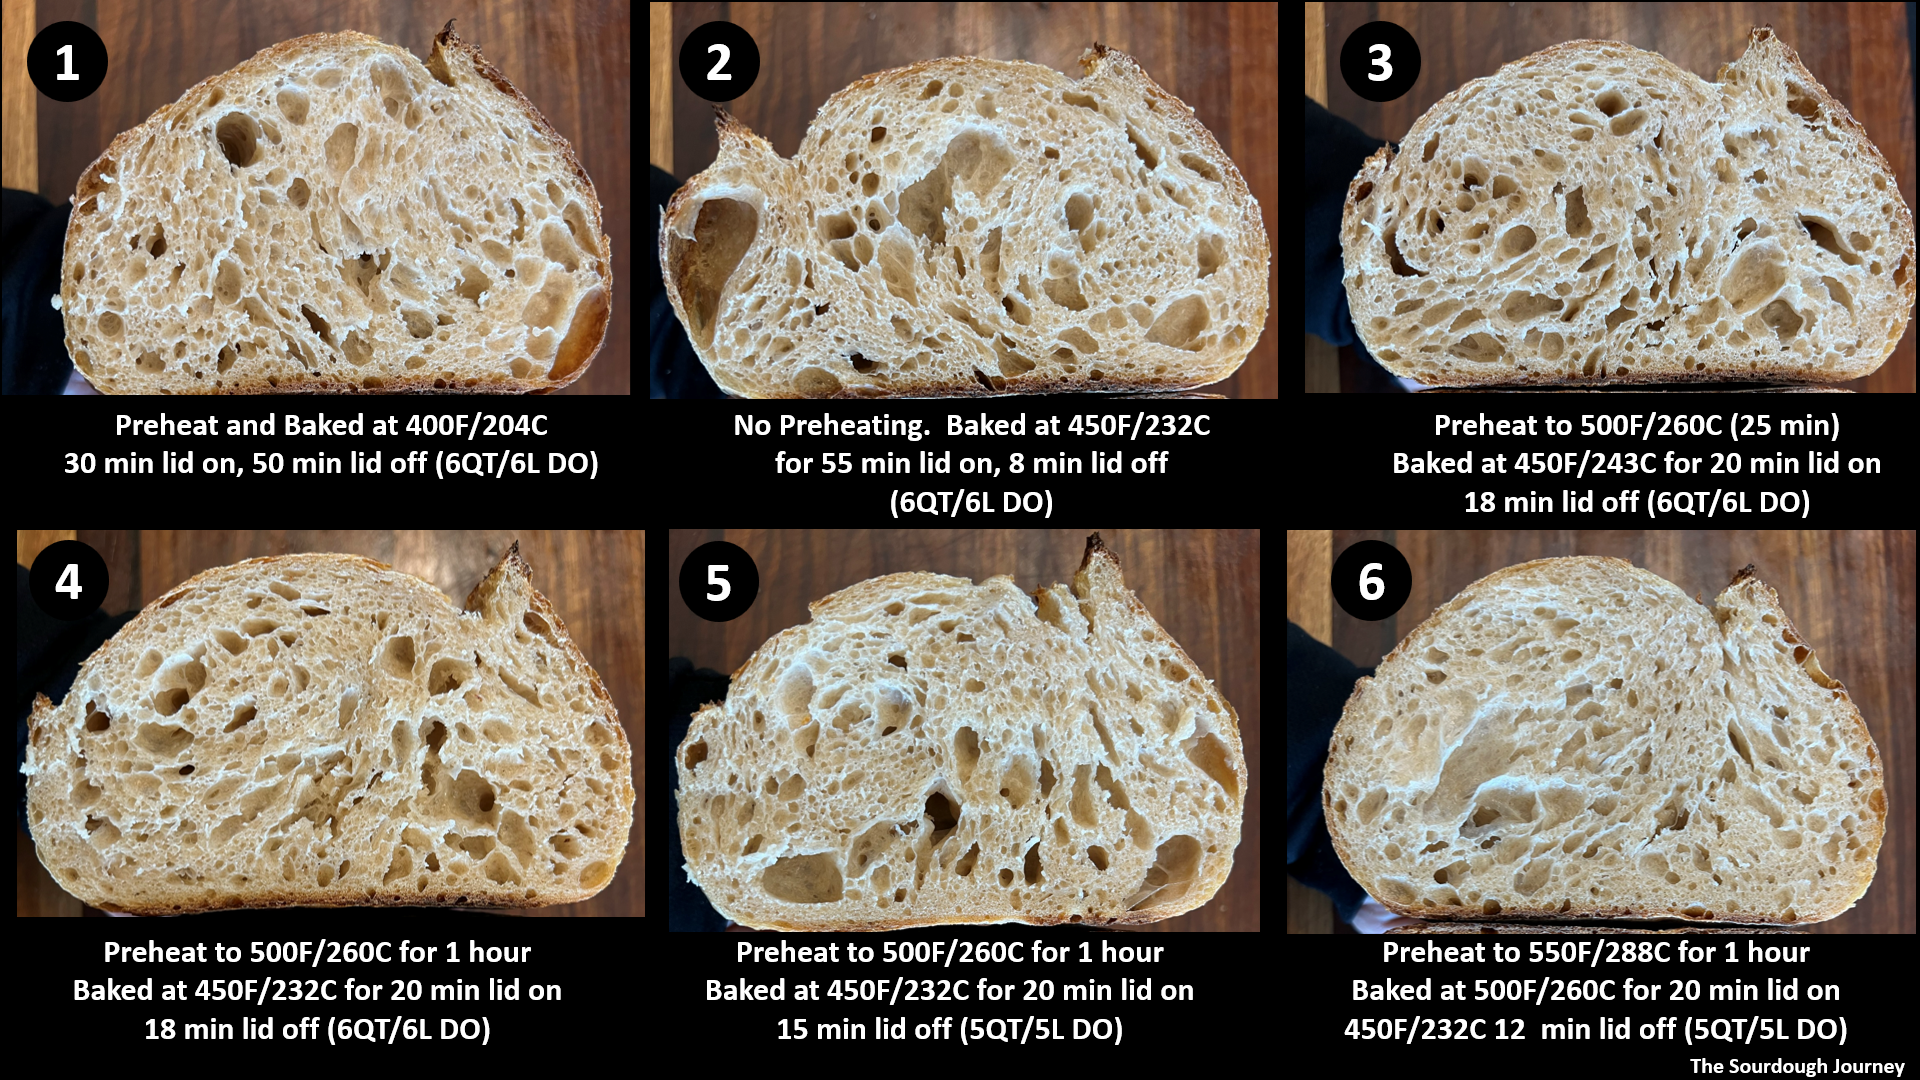
I’ve baked about 25 loaves under highly controlled conditions and the photos here are of the last six loaves baked from the same batch using different baking methods.
All of my experiments are based on Dutch oven baking, but many of these principles also apply to open baking. I used heavy, cast iron Dutch ovens for these experiments (i.e., not steel roasting pans, etc.)
Watch the video here: https://youtu.be/aTGRc8dhBK0
FINDINGS
1) Ovenspring – Ovenspring is the cumulative result of all of the steps that happen prior to and including baking (e.g., recipe, fermentation, shaping, scoring, etc.) Properly fermented dough is the single biggest factor impacting ovenspring.
Great ovenspring can be achieved across a wide range of baking temperatures if you get your fermentation right. Once your dough has fully sprung (usually in the first 20 minutes), you can bake the loaf to your desired darkness without impacting ovenspring.
Flat loaves with poor ovenspring can be the result of either underproofing or overproofing. Underproofed loaves tend to be more blonde in color and overproofed loaves tend to be darker or more mottled.
2) Preheating Times – Some recipes call for preheating your Dutch oven until your oven reaches temperature (about 25 minutes to 500F/260C for me) and others call for preheating for 1 hour. Your Dutch oven will preheat more slowly than your oven thermostat reading. When your oven reaches the desired preheating temperature setting, your Dutch oven may be 100F/60C coolerthan the oven temperature. “Longer” preheating is the equivalent of “hotter” preheating when using a Dutch oven.
However, I found almost no difference in ovenspring between preheating until the oven reached the desired temperature setting (500F/260C in 25 min) versus preheating the oven and Dutch oven to the same temperature for 1 hour.
I recommend using an infrared thermometer to measure the temperature of your Dutch oven walls before loading your dough. Your Dutch oven wall temperature is the true initial baking temperature of your loaf.
3) Temperatures – I tested a wide range of preheating temperatures from no preheating (“cold start”) up to 550F/288C. All methods worked very similarly.
Preheating at very high temperatures had more detrimental impact on ovenspring than preheating at low temperatures (or no preheating at all). Preheating and baking at too high of a temperature can impede ovenspring by setting up the crust too quickly.
4) Low Baking Temperatures – I successfully baked a loaf by preheating and baking at 400F/204C. I preheated the Dutch Oven in the oven to 400F/204C in 15 minutes. The loaf then baked for 80 minutes (30 with lid on and 50 with lid off). It baked up nicely with an ear, blisters and nice ovenspring.
I would suggest leaving the lid on for at least 45 minutes. I removed the lid a little too early and the loaf had not fully sprung.
It appears it is possible to successfully bake a sourdough loaf with good ovenspring at an even lower temperature than 400F/204C.
Super-hot preheating and baking temperatures are not required for sourdough baking.
5) High Baking Temperatures – I preheated my 5qt/5L Dutch oven to 550F/288C and baked a loaf at 500F/260C for 20 minutes with the lid on and 12 minutes with the lid off at 450F/232C. This temperature was too hot. The crust set up too quickly(even with the lid on) and “entombed” the loaf inside a crusty shell before it could fully spring. The crumb was also more closed on the loaves baked at the highest temperatures.
Baking at too high of temperatures can impede ovenspring. Contrary to popular belief, hotter temperatures are not always better when baking sourdough.
6) Steam – Baking with steam is essential for achieving optimal ovenspring. In a Dutch oven, the hydration of your loaf creates its own steam chamber. In an open bake, adding steam is required. The loaf surface needs to remain pliable and in the presence of steam for about thefirst 20 minutesto impede browning of the crust before the loaf has fully sprung.
The timing of when you remove the lid of your Dutch oven can impact ovenspring. Removing the lid of a Dutch oven too early can release steam and impede ovenspring. There is very little downside to leaving the lid on your Dutch oven longer to ensure your loaf fully springs.
I did not find the need to spritz my loaves or add ice cubes to the Dutch oven, but this may also depend upon the hydration level of the loaf (these loaves were 77% hydration).
7) Parchment Paper – If you use parchment paper in your Dutch oven, be careful. Too large of a piece of parchment can wrap around the sides of the loaf and materiallyimpact the internal baking temperature of the loaf.
In one example, the internal loaf temperature was 30F/17C cooler than expected because of a large floppy piece of parchment paper poorly positioned against the loaf. I believe the same result could occur with silicone slings, but I have not tested this.
My new preferred method is to use a very small oval of parchment paper under my loaf and use a larger sling of parchment just to transfer it into the Dutch oven, then slide that larger sling out when loading the dough.
8) Internal Loaf Temperature – Many people say that you need to bake your loaf until your internal loaf temperature reaches 208-212F/98-100C. This should be your ending internal temperature, but your loaf may reach this internal temperature 20 minutes before it is done baking.
Your loaf internal temperature will never exceed 212F/100C unless you bake all of the moisture out of the loaf. Your loaf will hit 212F/100C and plateau at that temperature while it continues browning and baking. It is not like cooking a steak where the temperature will keep increasing if you keep cooking after it hits your desired target.
Testing your internal loaf temperature when removing the loaf from the oven is a sensible “failsafe” temperature test, but testing it prior to that is not useful for determining “doneness.” in my opinion.
Also, for those baking at high altitude, your boiling point and maximum internal loaf temperature will be lower.
Your loaf also needs sufficient time to cool after it comes out of the oven. It takes more than 60 minutes for the internal loaf temperature to drop to 130F/54C. The crumb is still baking and setting up at this temperature. My loaves took over 90 minutes of cooling to reach room temperature.
9) Dutch Oven Size – Dutch Oven size matters. Small Dutch ovens bake hotter than large Dutch ovens. The radiant heatfrom the walls of a small Dutch oven will penetrate the loaf surface more than in a large Dutch oven. Radiant heat from the Dutch oven walls can rapidly raise the internal loaf temperature.
Many people mistakenly believe that you need to match your Dutch oven shape and size to your loaf shape and size. This is not required. If your proofing and shaping is good, you can bake a small loaf in a large Dutch oven. I’ve found best baking results in my largest Dutch ovens because the loaves bake with an air buffer between the loaf and the walls of the Dutch oven.
10) Dutch Oven Color – Darker colored Dutch ovens (e.g., black cast iron) will absorb and radiate heat more effectively than light colored (e.g., enamel coated) Dutch ovens.
Smaller, darker Dutch ovens bake much hotter than larger, lighter colored Dutch ovens. Be aware of this when setting your baking temperatures.
11) Oven Temperatures – Oven thermostats are notoriously inaccurate. Your oven may bake hotter or cooler than the reading on your oven. I recommend using aninfrared thermometer to test the temperature of your oven walls, and more importantly your Dutch oven walls.
I’ve also used the small dial-style oven thermometers with inconsistent results. All of my tests were done with my oven fan/convection setting turned off. When baking with a fan/convection setting turned on, your oven will bake approximately 25F/12C hotter.
12) Cold Start Method – I’ve tested Elaine Boddy’s “cold start” method a few times. In this method you load your cold dough into a cold Dutch oven into the cold oven and bake at 450F/232C for 55 minutes with the lid on and 5-10 minutes with the lid off. This method worked well in my setting.
In my experience, the loaves are a little more relaxed and it is possible they are proofing a little more than in a standard bake because of the long ramp up time (28-30 minutes) for the dough to reach the yeast die-off point (130F/54C). However, the time it takes for the loaf to reach the yeast die-off temperature will take longer in a cast iron Dutch oven than it would in a steel roaster, for example. When using any “no-preheat” method, the shape, size and material of your baking vessel can have a material impact on how the loaf bakes.
Also, the 5-10 minute browning time with the lid off seems very short, but these loaves brown very quickly. I believe because the loaf is somewhat drying out the loaf surface in the long bake (55 min) with the lid on, and the slightly longer fermentation time releases more sugars to the surface.
My loaves also had a tendency to burn on the bottom due to the long baking time. Use a baking sheet on a separate rack below your Dutch oven to reduce this risk.
13) “Oven Off” Method – This method, popularized by Peter Jespersen and Sune Trudslev, involves preheating your oven, then turning the oven “off” for the first 20 minutes of baking with the lid on to achieve best ovenspring.
Many people have tested this method with mixed results. The oven-off method is not included in the 6 test loaves shown above. I tested this method in a series of separate experiments.
There are so many variables using the oven-off method (oven heating speed, heat retention, dutch oven size and type, etc.) that the results will be very individualized. However, if you are getting better ovenspring by turning your oven off, then you are probably preheating your oven too hot to start with. Try reducing your preheating time and/or temperature and you will likely see the same results.
14) Optimal Temperature – What is the optimal temperature for great ovenspring? It depends. Everyone’s ovens and Dutch ovens are different, and people bake different size and style loaves.
The key to great ovenspring is understanding the science of baking and applying those learnings to your specific environment to get the right oven temperature, preheating time, Dutch oven type, and baking times to achieve the optimal results in your specific situation. This is the art of baking.
My best results were found using a 6QT/6L Dutch oven, preheating to 500F/260C (25 minutes) and baking at 450F/232C for 20 minutes with the lid on and 20 minutes with the lid off. But I’ve baked my loaves at these times and temperatures in my own Dutch oven in other people’s ovens and they bake up differently. This is what led me down this path to begin with.
DETAILS OF THE EXPERIMENT
Mixed a 2,000g flour-weight batch of dough following the Tartine Country Bread recipe. 20% starter, 2% salt, 77% total hydration. Each loaf was 333g flour-weight. I bulk fermented for 5.5 hours to 35% rise at dough temperature of 80F/28C. Pre-shaped, final shaped and cold retarded for 14 hours.
While baking the first loaf after 14 hours of cold retard, I moved all other loaves to the coldest spot in my refrigerator (35F/2C) to slow down any subsequent fermentation. The remaining loaves were baked in the following 5 hours, and I do not believe the longer cold retard time had any material impact on the results.
I baked the first four loaves in a round, enamel coated 6qt/6L cast iron Dutch oven. The last two loaves were baked in a 5qt/5L black cast iron rectangular Dutch oven. All other variables were carefully controlled in all tests.
The full experiment is detailed in the video at https://youtu.be/aTGRc8dhBK0
Tom Cucuzza
Share:
Related Posts
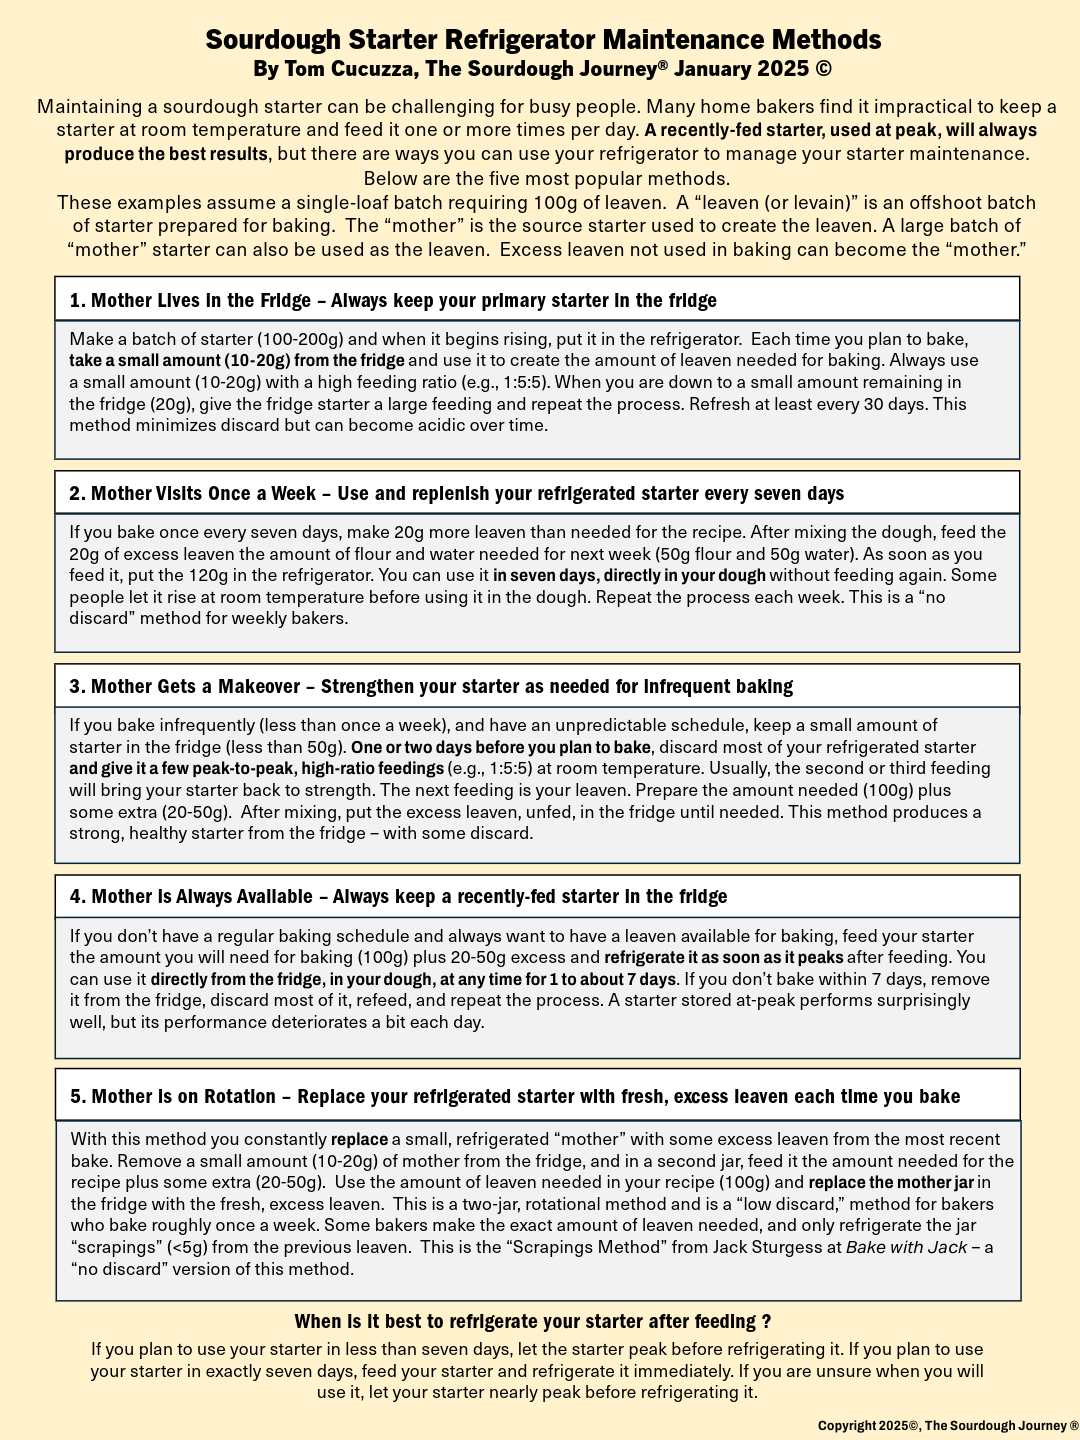
Sourdough Starter: Refrigeration Maintenance Methods
How can I maintain my sourdough starter in the refrigerator instead of at room temperature?
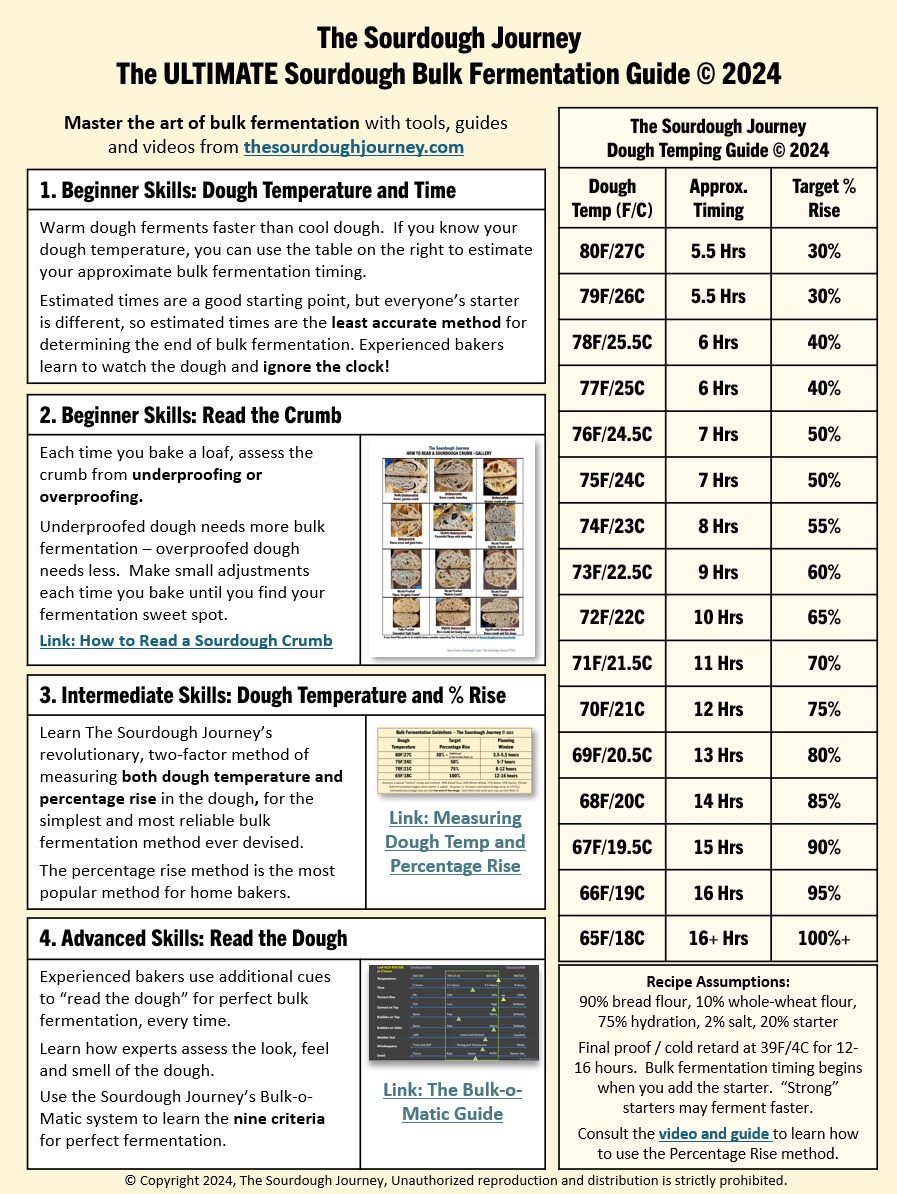
The ULTIMATE Sourdough Bulk Fermentation Guide
When is sourdough bulk fermentation finished?

Dough Temping for PERFECT Sourdough Fermentation
What is sourdough “dough temping,” and how does it work?
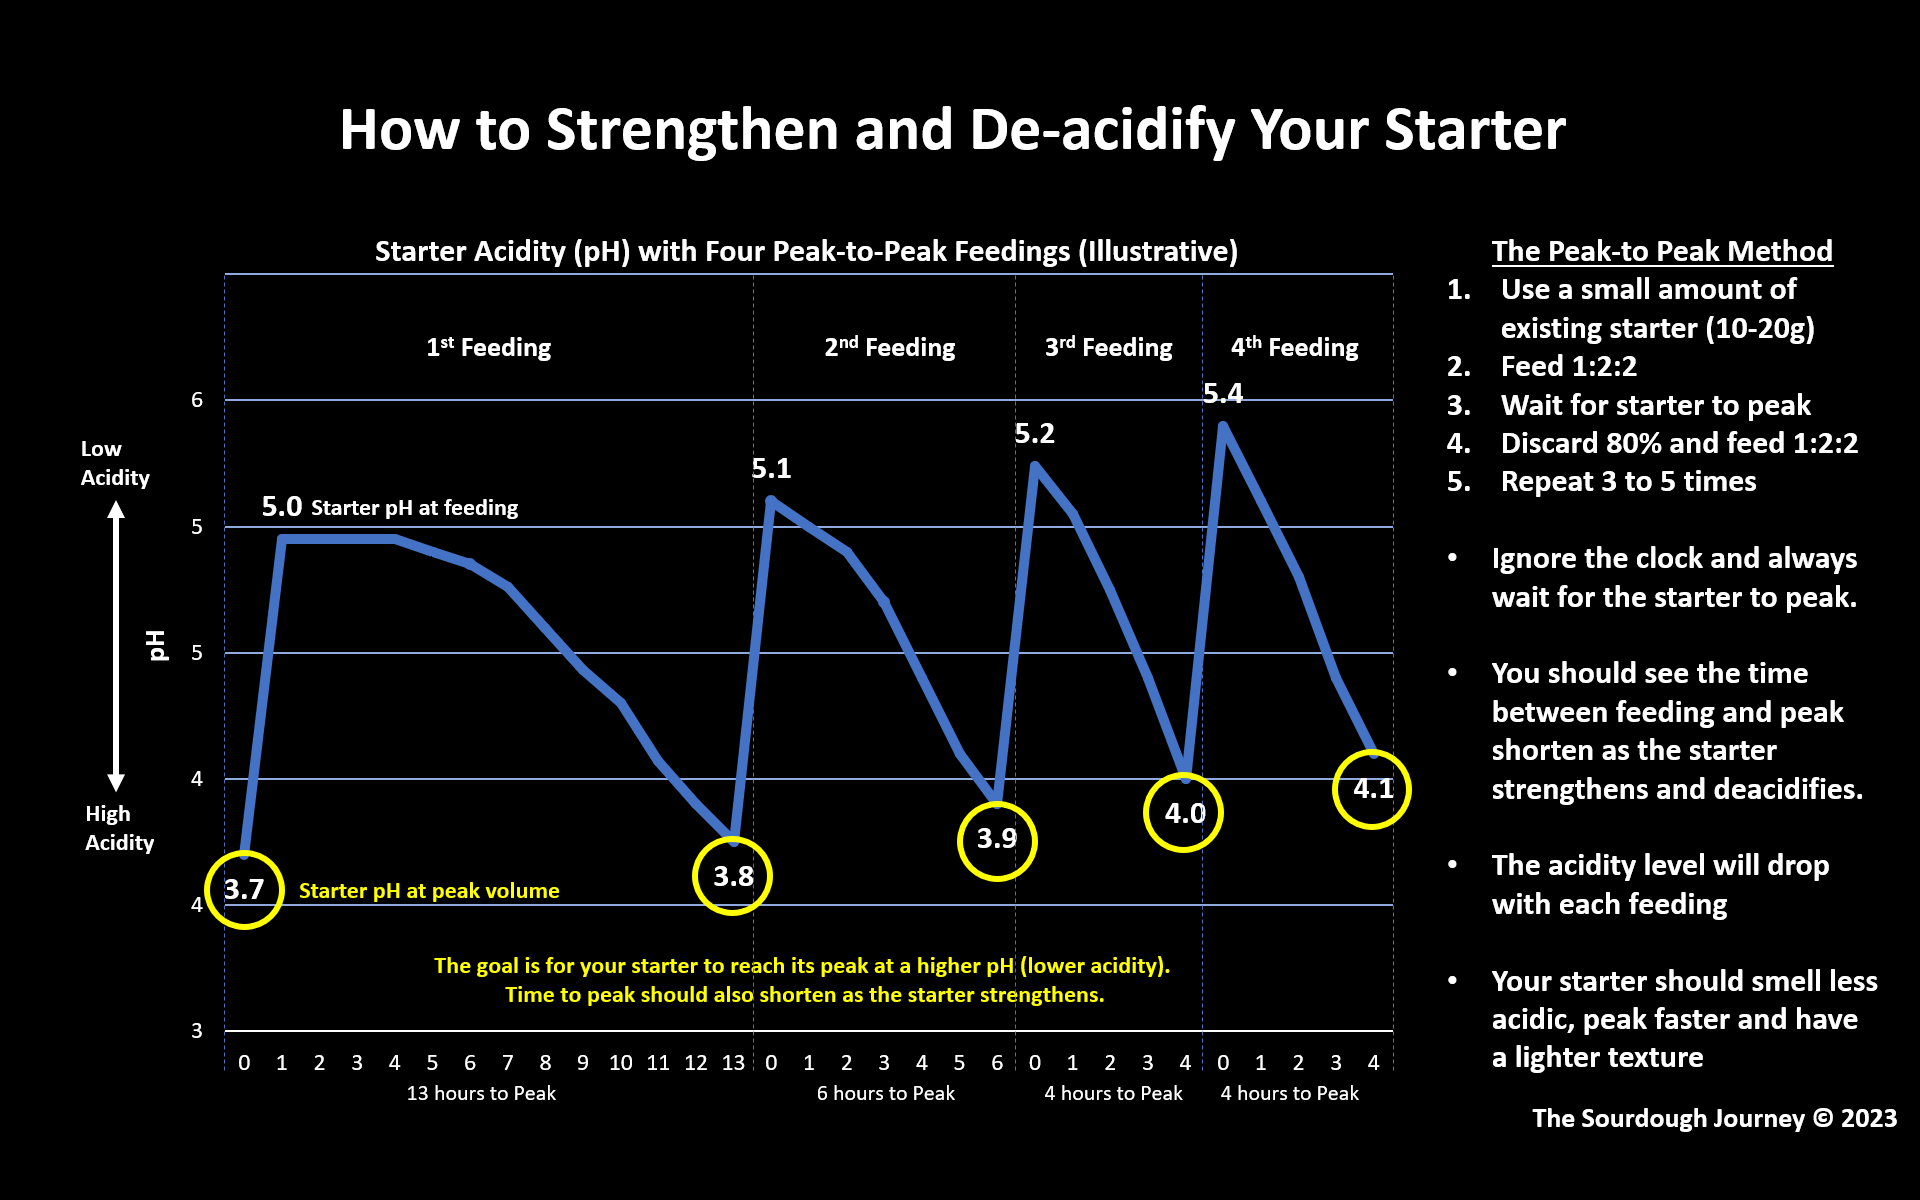
The Science of the Peak-to-Peak Method of Strengthening a Sourdough Starter
What is the Peak-to-Peak Method and how does it strengthen a weak sourdough starter?
How to Strengthen a Weak, Acidic Starter
Is your sourdough starter sluggish? How do you identify and fix a weak, acidic starter. This document is the companion guide to the popular video “How to Strengthen a Weak, Acidic Starter.”
